1SMRTgarden@gmail.com
USA
USA
The beauty of the SMRT Garden is that it is relatively easy to create while it provides many benefits to the environment and community. Below is an outline to help you get started.

While a SMRT garden could be created by a single gardener on private land, a SMRT Garden is a great opportunity to bring the community together. Start by inspiring others with an explanation of benefits for the environment and community. Municipal parks and recreation departments (city, county, state parks) are a great start as San Dieguito County Park was the site of SMRT Garden #1. Also consider schools and universities, local businesses and religious centers. Garden clubs, Rotary clubs, and other environmental non-profits will love the idea of partnering with you to find land, funds, volunteers, expertise and resources. Local city leaders will be interested since SMRT gardens fit well into most climate action plans and might provide permits for public lands and marketing.
Finding additional funding for larger projects, if needed, can come from grants such as San Diego Foundation, Pollinator.org, Pollinator Partnership, California Native Plant Society and San Diego Pollinator Alliance. Here are some national and federal grant programs:
Finding additional funding for larger projects, if needed, can come from grants such as San Diego Foundation, Pollinator.org, Pollinator Partnership, California Native Plant Society and San Diego Pollinator Alliance.

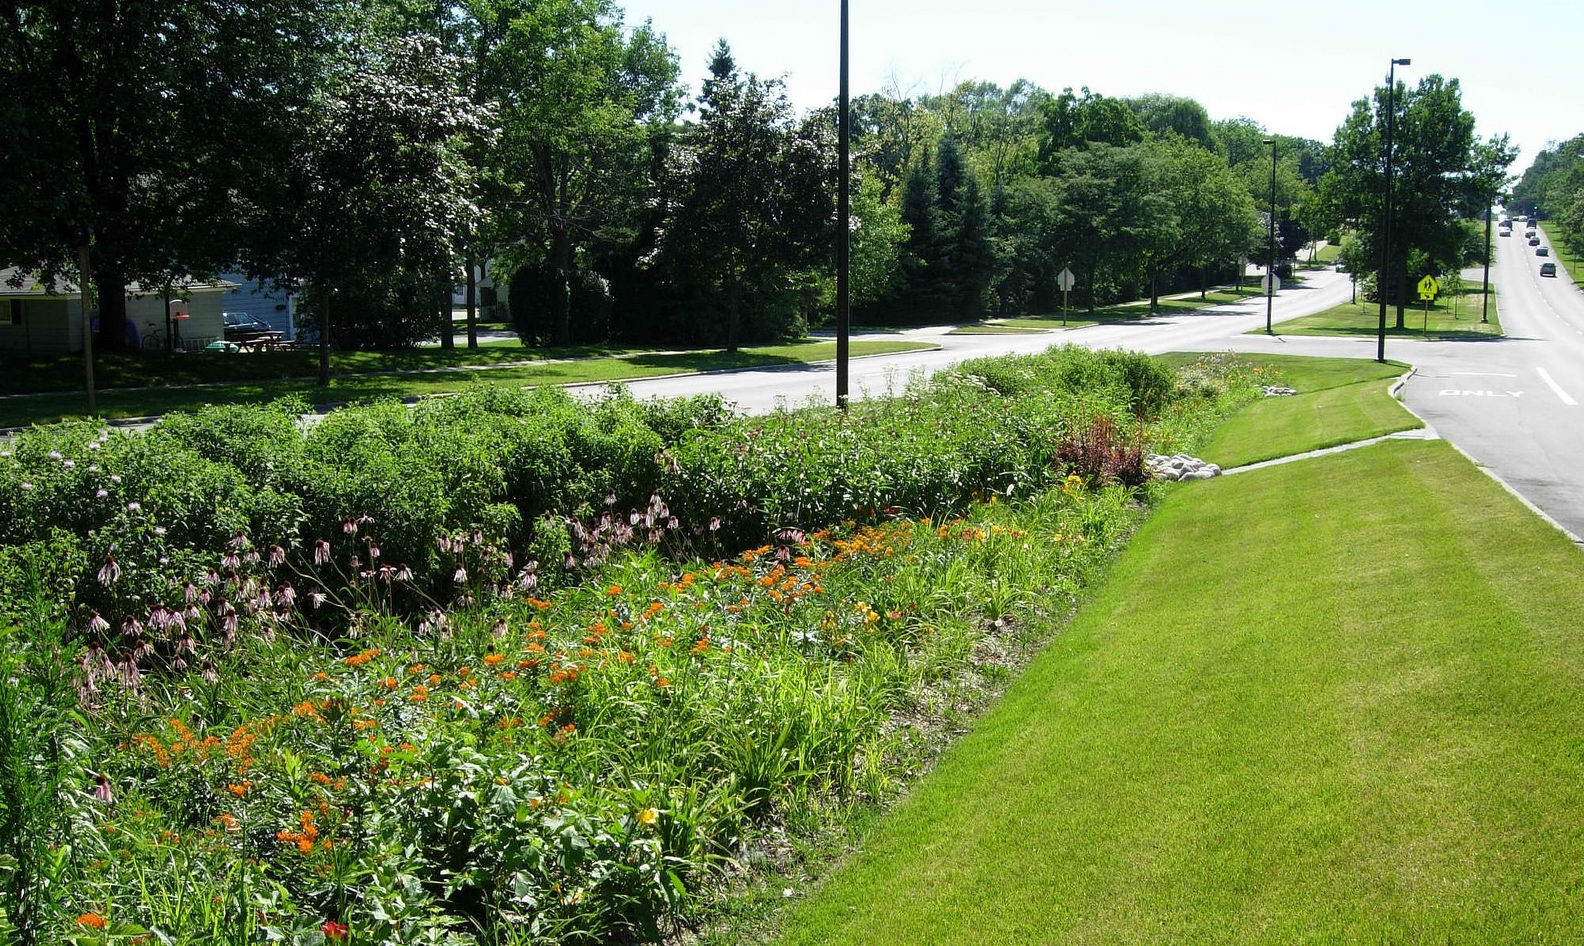
SMRT gardens generally work well off slightly sloped streets and parking lots. Look for areas that collect water during rains. The area can be small and as narrow as 4 feet wide. They can be located on unused property off a parking lot that could offer enough space for a pocket park. Privately owned land is usually the easiest as complex permits are sometimes needed for public land alterations. Homes, businesses, schools, universities, tribal land, religious sites, parks will sometimes freely offer land when they understand about the benefits of the garden. Public grounds around libraries, schools, civic centers, community centers are optimal for exposure but usually require governmental approvals.

When designing the garden, the first consideration is safety. Before any digging, always make sure that you are aware of underground utilities. Check the free 811 national service to request the location of buried utilities using this site: https://811beforeyoudig.com/. This will help direct you to where your bioswales might be placed. Also check city building codes for permits needed to alter a public space.

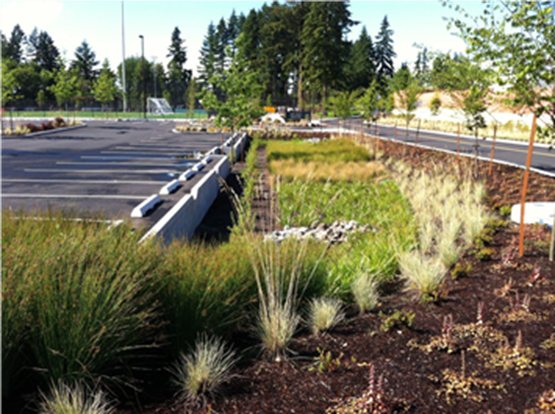
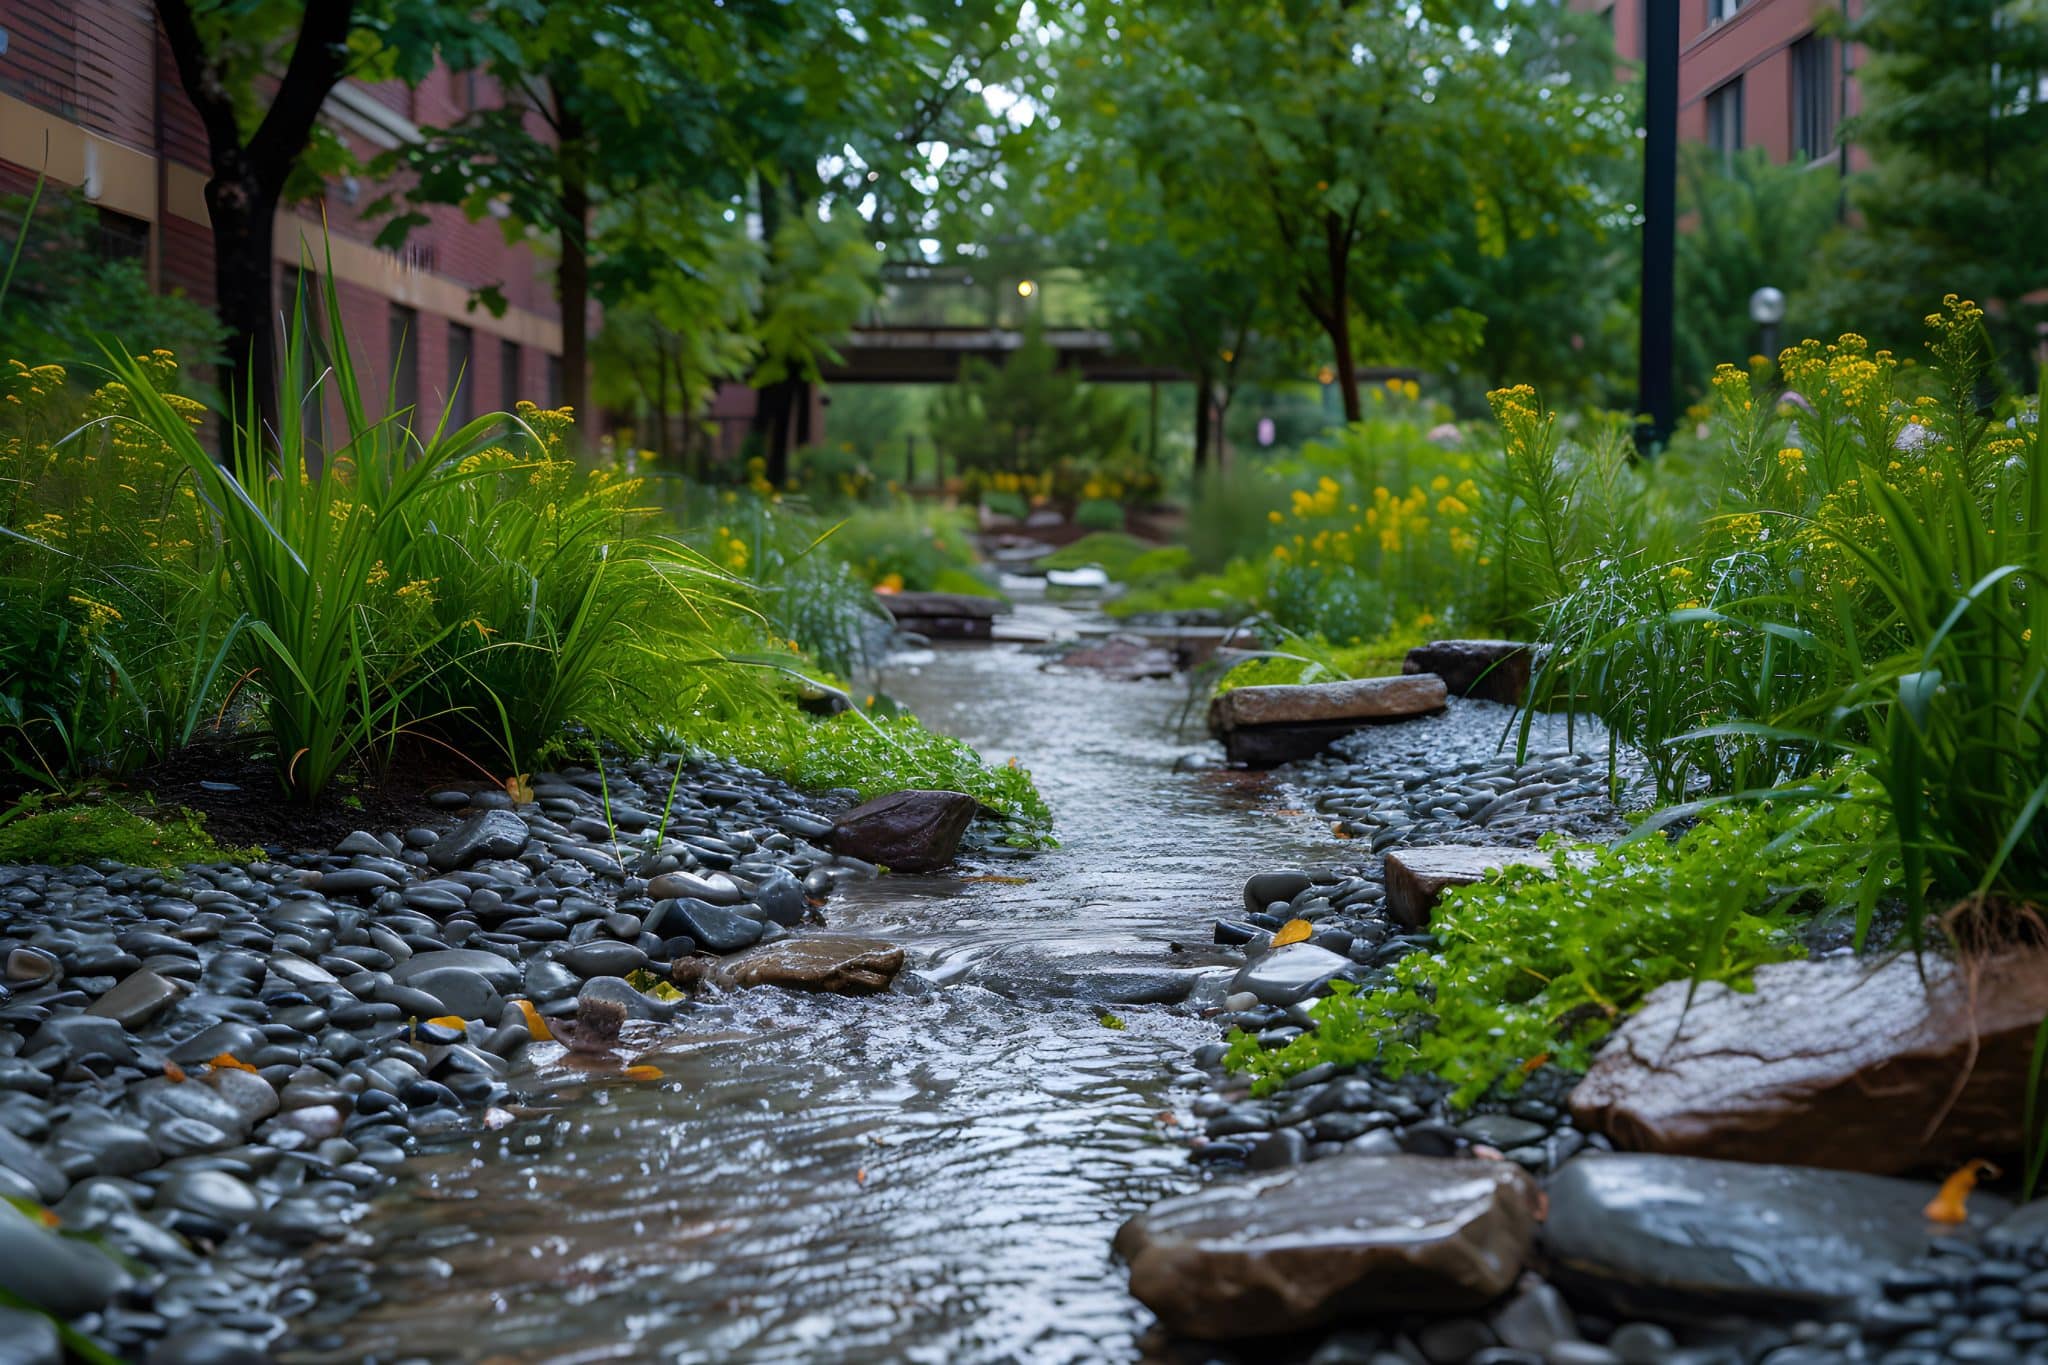
Between these entry and exit points should be bioswales to slow and collect rainwater. Bioswales are gently sloped (less than 6%) channels designed to concentrate stormwater runoff while removing pollution and recharging groundwater. They can be gravel lined but are typically vegetated or bordered with vegetation that will absorb the collected water. Adding a line of gravel through the middle (a thin walking path) can allow for better filtration and easier maintenance in the future. Bioswales are the heart of the garden and will help keep your plants hydrated.
Depending on the site topography, the bioswale channel may be straight, zigzag or meander. Check dames (rocks or pieces of concrete) can be added along the bioswale to slow the flow, increase stormwater infiltration and reduce erosion. If the path is straight, having a series of check dams with height just under ground level allows water to fill, then overflow, slowing the flow. If the path is curving, having check dams at the turns helps prevent erosion. In large SMRT gardens and steeper slopes, gabions (rock filled metal cages) can be used as check dams.

Any bioswale design will contribute to collection of rainwater, but there are considerations to note while creating the bioswale. The larger the bioswale area and the slower the rainwater travels through, the larger the amount of water collected. When creating the bioswale, take note of the hardness of the ground. Does it take much effort to dig a 6-9” deep hole? If it is extremely difficult to dig (rock or hardpan), water will likely percolate slowly into the ground. If it is easy to dig, more water will be collected and stored. The texture of the soil can also be determined by picking up a handful of soil and trying to form a ball then roll into a ribbon. If the ball/ ribbon falls apart easily, the soil is sandier and will drain quickly. If it forms a sturdy ball/ long ribbon, it is more clay and will drain slowly. A bioswale’s make-up can be influenced by many different variables such as slope, soil variability, sun exposure, temperatures, rainfall patterns. Note also that many of these change over time as plants grow and climate changes. It’s challenging to figure out how much rainwater will be collected and how quickly the bioswales will fill and drain. It can be helpful to do these projects in the fall at the start of the rainy season so that you can observe and monitor how rainwater travels through the garden and how long it takes to drain. Early in the project you can adjust your entry/ exit openings and bioswale size and shape.
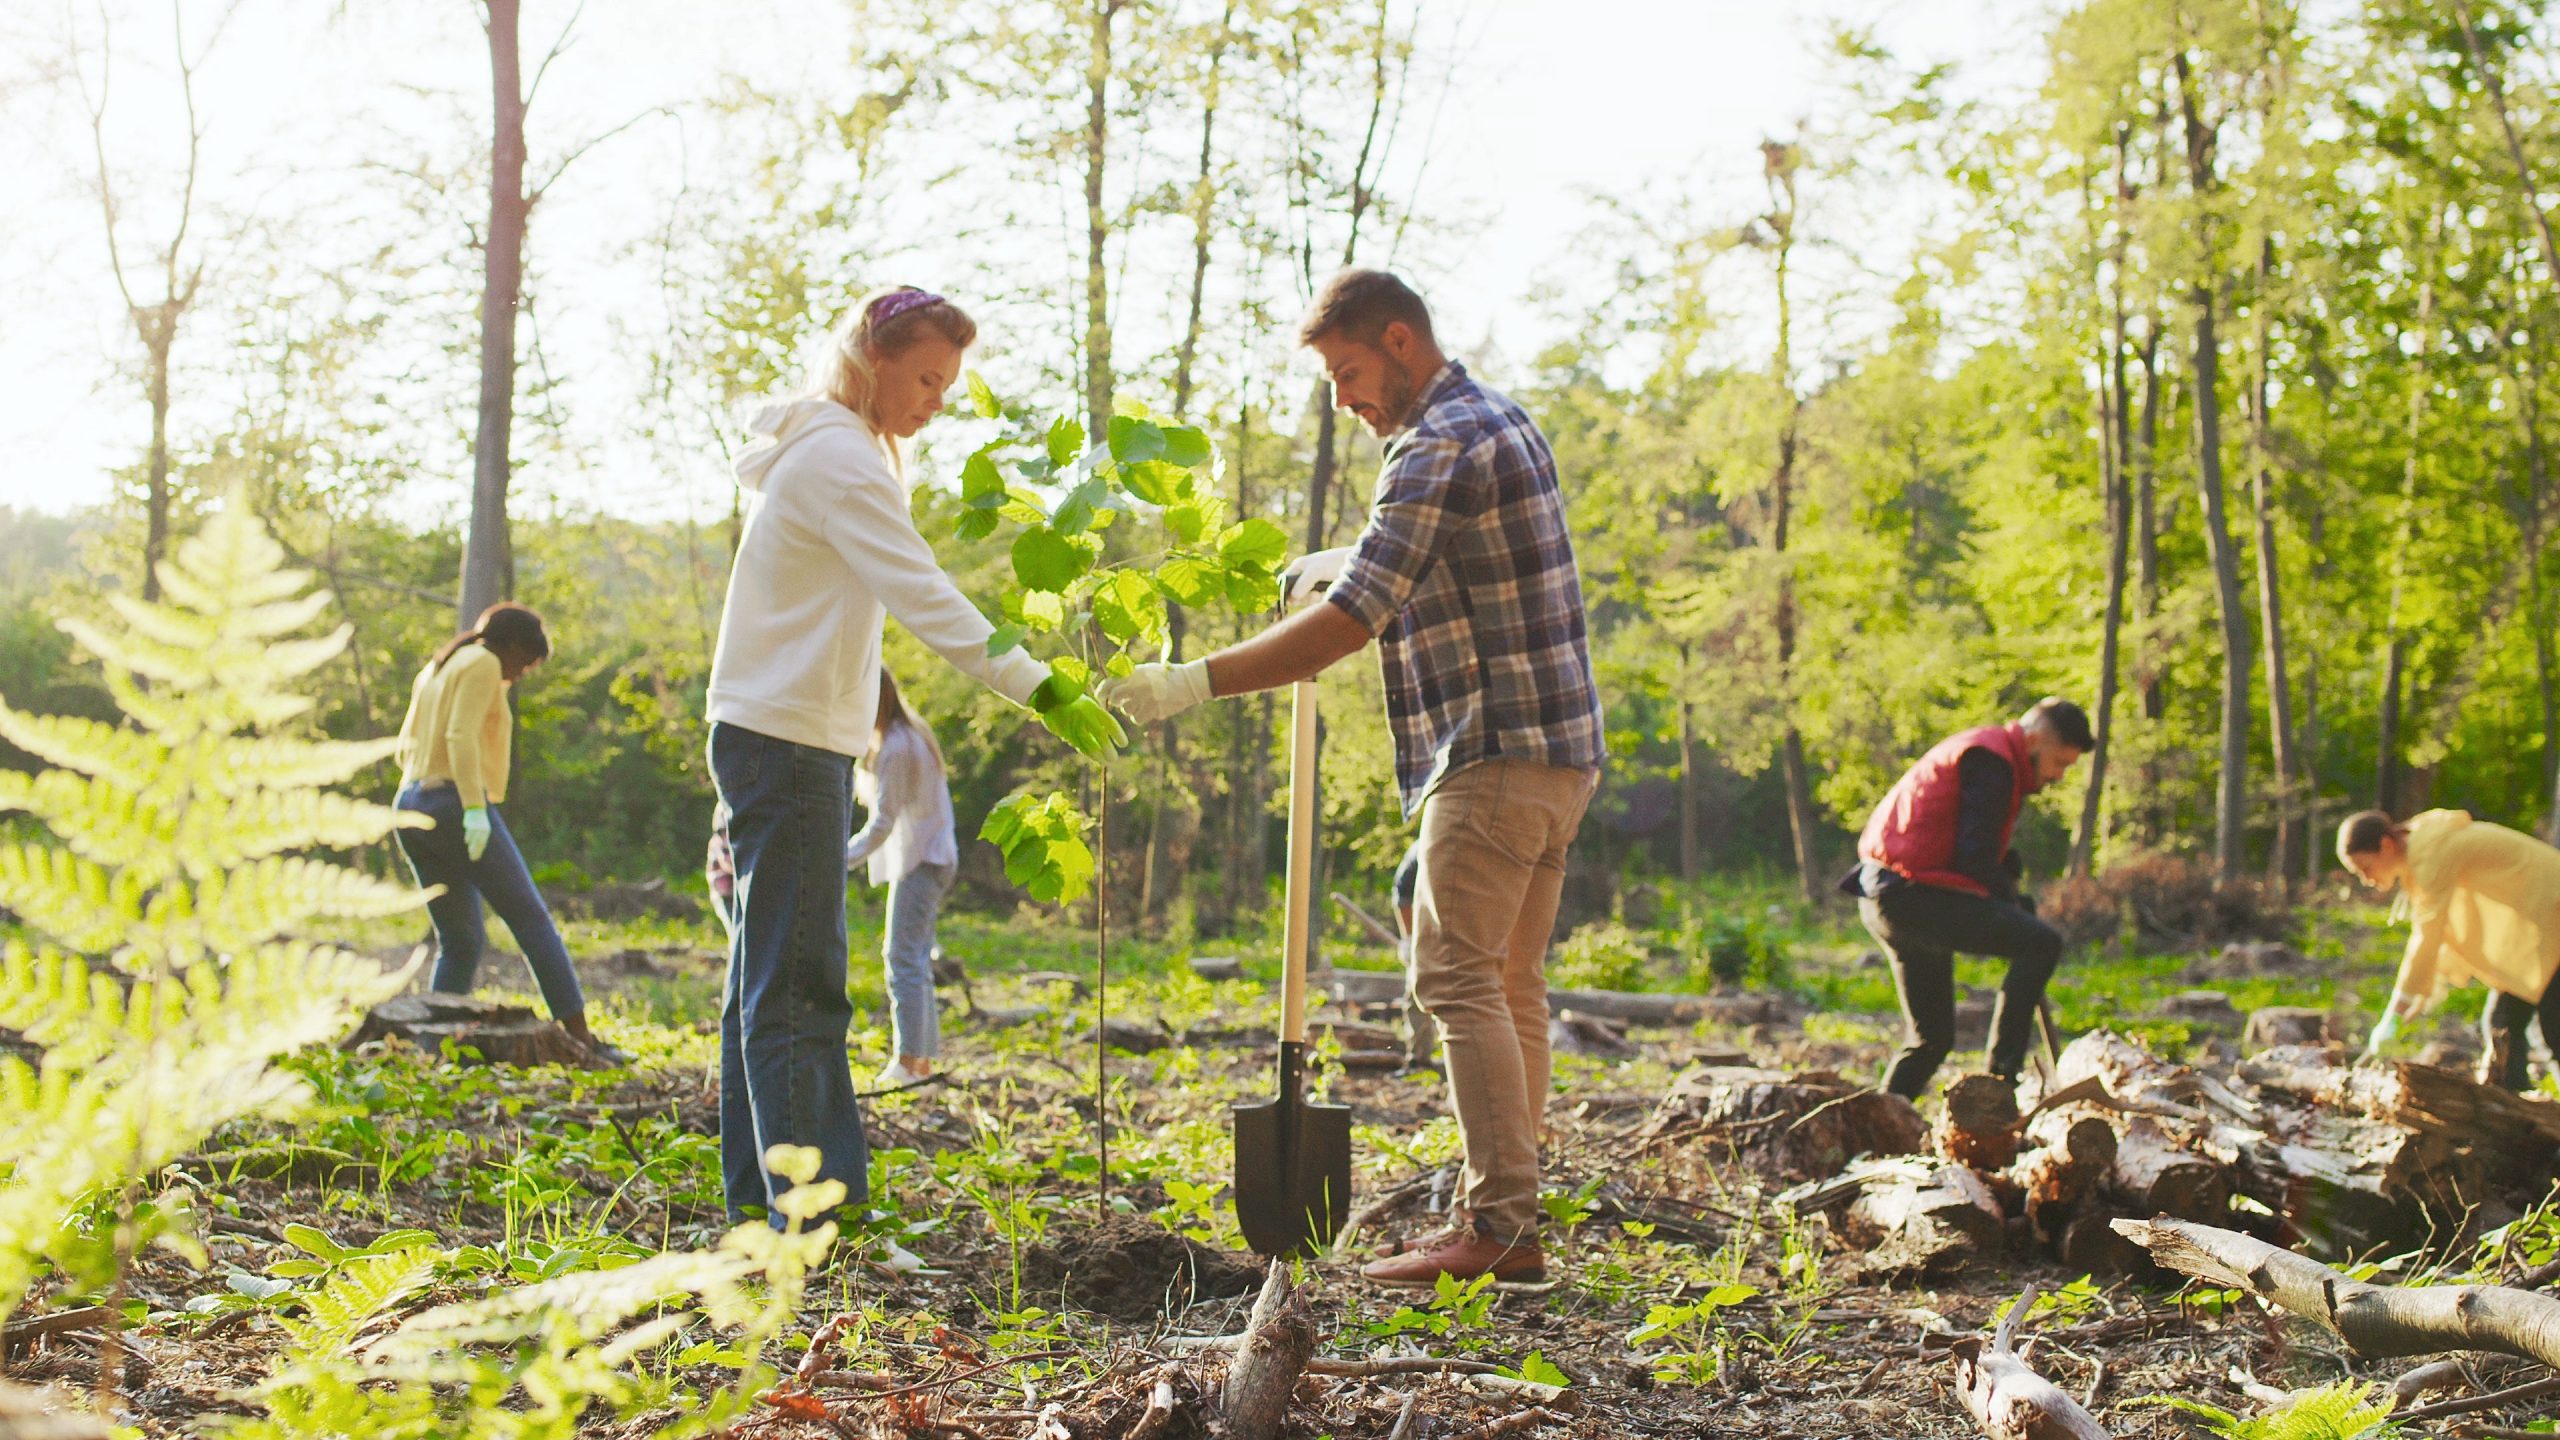
Once your entry/ exit points and bioswales are in place, you can add your plants. The best time to plant is in the fall when the young plants can take advantage of winter rains to get established. Native plants are the very best food source for native pollinators. There are some excellent online sites for finding the perfect native plants to fill your garden depending on site, soil, and sun exposure. One of the best for California is the Calscape website from the California Native Plant Society: https://www.calscape.org/. Xerces Society recommends that you plant a variety of native plants that will bloom at different times of the year to allow for continuous food sources for pollinators. They also recommend using no chemical treatments (pesticides, herbicides, pesticides) in this garden and not raking up fallen leaves (Leave the Leaves). The beauty of using native plants is that they are generally
low maintenance and should be sustained on the rainwater collected in the SMRT garden once they are established. Strategically placed trees can shade sidewalks and roads to cool the area but watch for overhead powerlines. Many of the California native shrubs can be trained to make nice small trees (under 15’) for small gardens. Larger gardens can hold larger trees that will absorb even more rainwater and carbon.
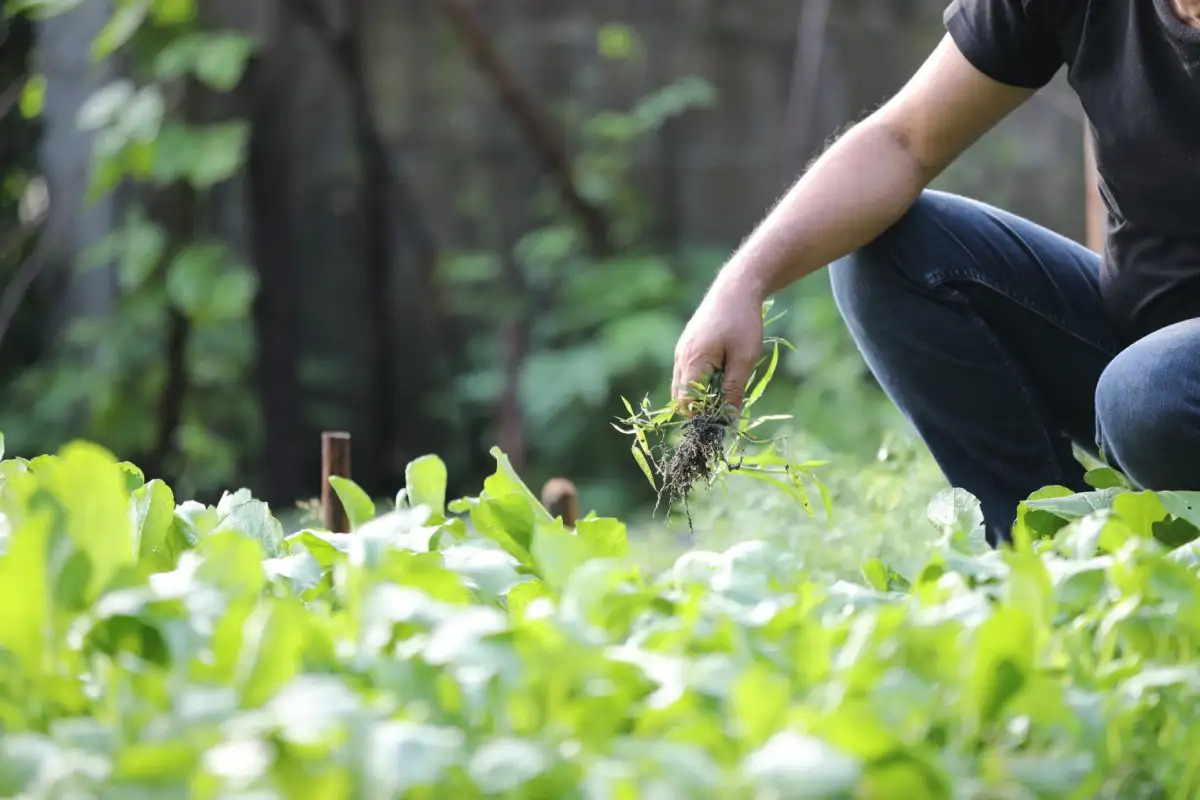
SMRT gardens are by definition low maintenance gardens. Experts suggest leaving plant debris and seed heads and not adding fertilizers. However, that does not mean SMRT Gardens are maintenance free. Newly planted natives might need protection from rabbits and gophers and extra watering in a dry rainy season to get started. Non-native weeds will appear; trash and sediment will come with rains. These need to be cleared periodically. Native perennials are short lived and might need replacing every few years if they do not reseed. Bigger bushes might need pruning to keep in shape and out of walkways and roadways. If your SMRT garden is large, you might consider a regular community cleanup to keep it looking spectacular.
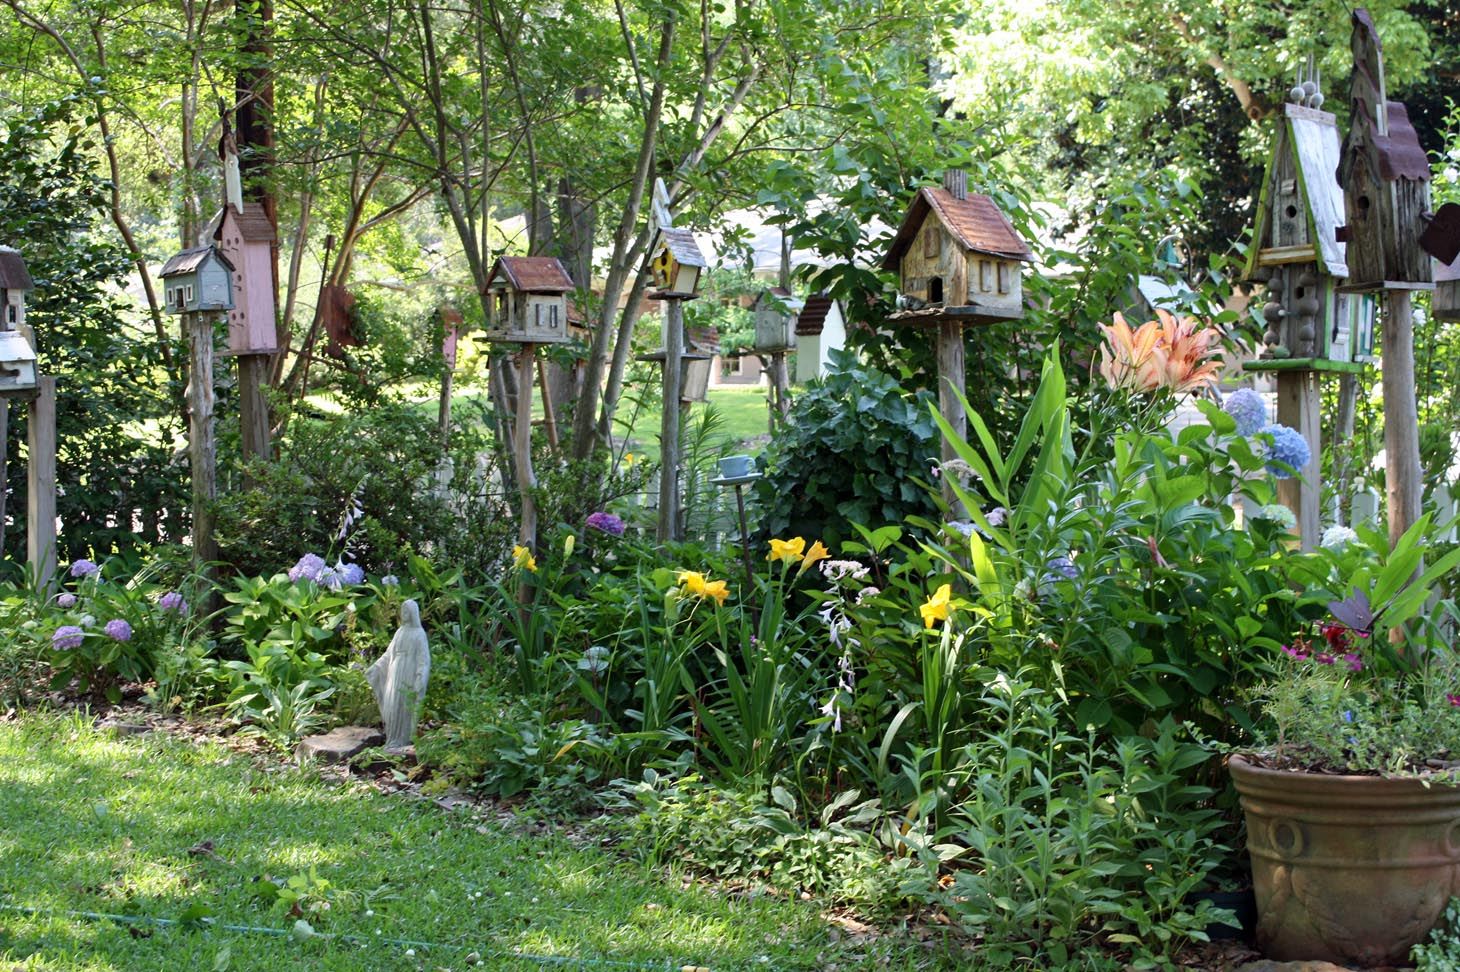
You can attract more wildlife with bee and insect hotels, bat boxes, bird feeders, bird baths and solar powered fountains. All are available online and garden centers. Small debris piles (small sticks, stems, leaves) are welcome to attract ground insects, but Calfire does not recommend debris piles near your house. Here is more information to specifically attract Monarch butterflies: https://www.nwf.org/Native-Plant-Habitats/Plant-Native/Why-Native/Milkweed-for-Monarchs
Add a sitting area near or in your SMRT garden to have a spot to watch your SMRT garden in action and connect to the sights and sounds of nature. Make plans to observe your garden wildlife sanctuary come alive. Being in nature enhances well-being and can be enlightening.
You and the SMRT garden can make a difference and advance needed biological science. For fun and educational citizen science projects, try iNaturalist, eBird, SciStarter, BeeSpotter, Pollinator Partnership, Great Sunflower Project, Bumblebee Watch, BiodiversityPEEK.